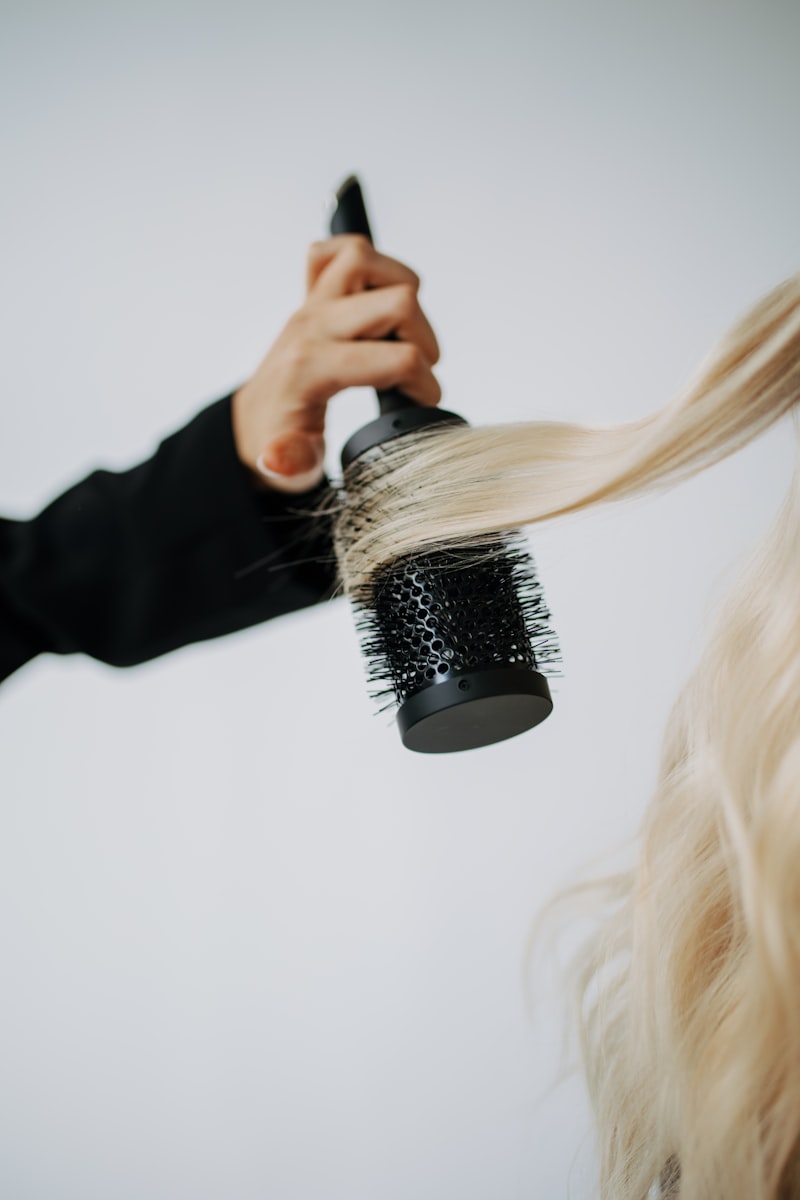
Tymo Airbeam Blowout Tutorial: A Faster Way to Style Your Blowout at Home
How to get a smooth, voluminous blowout at home with a hot-air styling brush like the Tymo Airbeam — technique, sectioning, and common mistakes.
By Rita Almusa, Licensed Master Esthetician — 20+ years of experience
Introduction
Hot-air styling brushes have become one of the most popular categories of at-home hair tools, promising a salon-style blowout without needing a separate dryer and a round brush working in tandem. The Tymo Airbeam is one of the newer entries in this space, and the technique for getting a genuinely smooth, voluminous result comes down to a few key habits that make a real difference in the finished look.
How a Hot-Air Styling Brush Works
Tools like the Airbeam combine a heated airflow system with a round-brush-style bristle head in a single device. As you draw the brush through a section of hair, warm air moves through the bristles while the brush shape smooths and rounds the hair simultaneously. This is different from a flat iron (which relies on plate contact and a twisting motion) and different from a traditional curling iron (which wraps hair around a barrel) — a hot-air brush is closer in mechanism to a classic round-brush blowout, just combined into one handheld tool.
What You’ll Need
- A hot-air styling brush
- Heat protectant spray
- A lightweight smoothing serum
- Sectioning clips
- A detangling brush for prep
Step-by-Step Tutorial
1. Start on Towel-Dried Hair
These tools work best on hair that’s already mostly dry — starting from soaking wet hair extends drying time significantly and can strain the tool. Aim for hair that’s damp but not dripping.
2. Detangle and Apply Heat Protectant
Run a detangling brush through your hair from ends to roots, then apply heat protectant evenly. A lightweight smoothing serum on top adds slip, which helps the brush glide through hair more easily.
3. Section Your Hair Into Four Parts
Divide hair into top, two sides, and back sections, clipping everything out of the way except what you’re actively styling. Smaller, more manageable sections dry and shape more evenly than large chunks.
4. Place the Brush at the Root and Rotate Through
Starting close to the root, rotate the brush as you draw it slowly down each section. The rotation is what builds shape and volume — pulling straight through without rotating just dries the hair flat.
5. Keep the Tool Moving
Holding the brush stationary in one spot for too long risks localized heat damage and an uneven result. A slow, continuous pass gets better results than pausing mid-section.
6. Direct Your Ends
Curl ends slightly under with an inward rotation on your final pass for a classic, polished blowout look, or direct them outward for more texture and movement.
7. Let It Cool Before Touching
Once your whole head is styled, give it a few minutes to fully cool before running your fingers or a brush through it — this is what locks in the volume and shape you just created.
Getting an Even Result on Your Whole Head
The back sections of your head are the hardest to style evenly since you can’t see them directly. Working by feel, use a mirror behind you if you have one available, and take slightly smaller sections in this area than you would in the front — smaller sections are easier to style accurately without full visibility, and any minor inconsistency is far less noticeable in the back than it would be framing your face.
Choosing the Right Hot-Air Brush
Barrel size is the most important spec to consider. Larger barrels create looser, more voluminous waves and suit medium to long hair; smaller barrels give tighter shape and definition, working better for shorter lengths. Bristle composition matters too — a mix of natural and synthetic bristles tends to grip and smooth more effectively than an all-synthetic brush head, particularly on finer or slippery hair textures. If you’re deciding between a hot-air brush and a straightening brush, I put the TYMO Iconic Plus through its paces separately for a sleeker, straighter finish.
The Beauty Tips Guide
20+ years as a Licensed Master Esthetician and Makeup Artist, condensed into one guide.
Common Mistakes to Avoid
- Starting on hair that’s too wet. This dramatically extends drying time and puts extra strain on the tool’s motor.
- Rushing through each section. A quick pass doesn’t give heat and shape enough time to set, leading to a flatter, less voluminous result.
- Sectioning too large. Thick sections dry unevenly, with the interior staying damp longer than the surface layer.
- Skipping heat protectant. Without it, the brush can catch and tug on hair, which is both uncomfortable and more damaging with repeated use over time.
Hot-Air Brush vs. Traditional Blowout
The main advantage of a hot-air brush is simplicity — one tool, one hand, generally faster once you’ve learned the rotation and pacing. A traditional round brush and separate handheld dryer gives more precise control over tension and airflow direction, which is part of why some stylists still prefer it for very specific shaping, but it typically requires more coordination, especially for the back of your head. For most at-home routines, a hot-air brush is the more practical, learnable option day to day.
Troubleshooting Common Problems
My roots stay flat no matter what I do. Try angling the brush more upright against the roots specifically, and consider adding a volumizing mousse or spray before you start styling.
The brush pulls or snags on certain sections. This usually points to insufficient product (serum or heat protectant) or leftover tangles. Detangle thoroughly and add a touch more slip before continuing.
My style falls flat by the next morning. Sleeping with hair completely loose lets gravity undo your shape overnight. A loose, low braid or a silk bonnet helps preserve the blowout significantly longer.
Pro Tips
- Match barrel size to your hair length and desired look — bigger for volume, smaller for definition.
- Do your face-framing sections last so you can judge how they sit relative to the rest of the style before finishing.
- Clean the bristles regularly — buildup reduces grip and can transfer old product back into freshly styled sections.
- Refresh day-two hair with dry shampoo at the roots rather than restyling the whole head with heat again.
Frequently Asked Questions
How long does a full blowout take with a hot-air brush? Most people land around 15-25 minutes once they’re comfortable with the technique, similar to or slightly faster than a traditional round brush and dryer.
Can I use a hot-air brush on curly or coily hair? These tools are primarily designed for smoothing and shaping straighter, wavy, or loosely curled textures. Tightly curled or coily hair often gets better, more predictable results from tools and techniques designed specifically for those hair patterns.
Is a hot-air brush less damaging than a regular blow dryer and round brush? Not inherently — heat exposure is heat exposure regardless of the tool. What matters most is temperature setting, how long heat is applied to any one section, and consistent use of heat protectant.
What barrel size should a beginner start with? A mid-size barrel (around 1.5-2 inches) is a reasonable starting point for most hair lengths, giving you room to build both volume and shape while you’re still learning the rotation technique.
Conclusion
A hot-air styling brush like the Airbeam earns its popularity by solving the coordination challenge of a traditional blowout — once the rotation and pacing feel natural, it’s a genuinely fast way to get a smooth, voluminous result without a second pair of hands. Watch the full tutorial above to see the technique in motion, and give yourself a few practice runs to build the muscle memory. ✨
Related Posts
How to Get Heat-Free Waves: Bouncy Soft Curls With No Heat Damage
A step-by-step guide to genuinely heat-free curls — soft, bouncy waves using rollers and technique alone, no curling iron required.
At-Home Microneedling: What It Can (and Can't) Do for Acne Scars and Pores
A licensed esthetician's honest, safety-first guide to at-home microneedling — realistic expectations, proper technique, and when to see a professional instead.
Half-Up Waterfall Ponytail Hairstyle That Actually Works
A step-by-step tutorial for a half-up waterfall ponytail — no extensions needed, just the technique that makes it look effortlessly full.
How to Use a One-Step Hair Dryer Brush for a Salon Blowout at Home
A step-by-step guide to using a one-step hot air brush for a smooth, voluminous salon-style blowout at home, plus how to choose the right one.