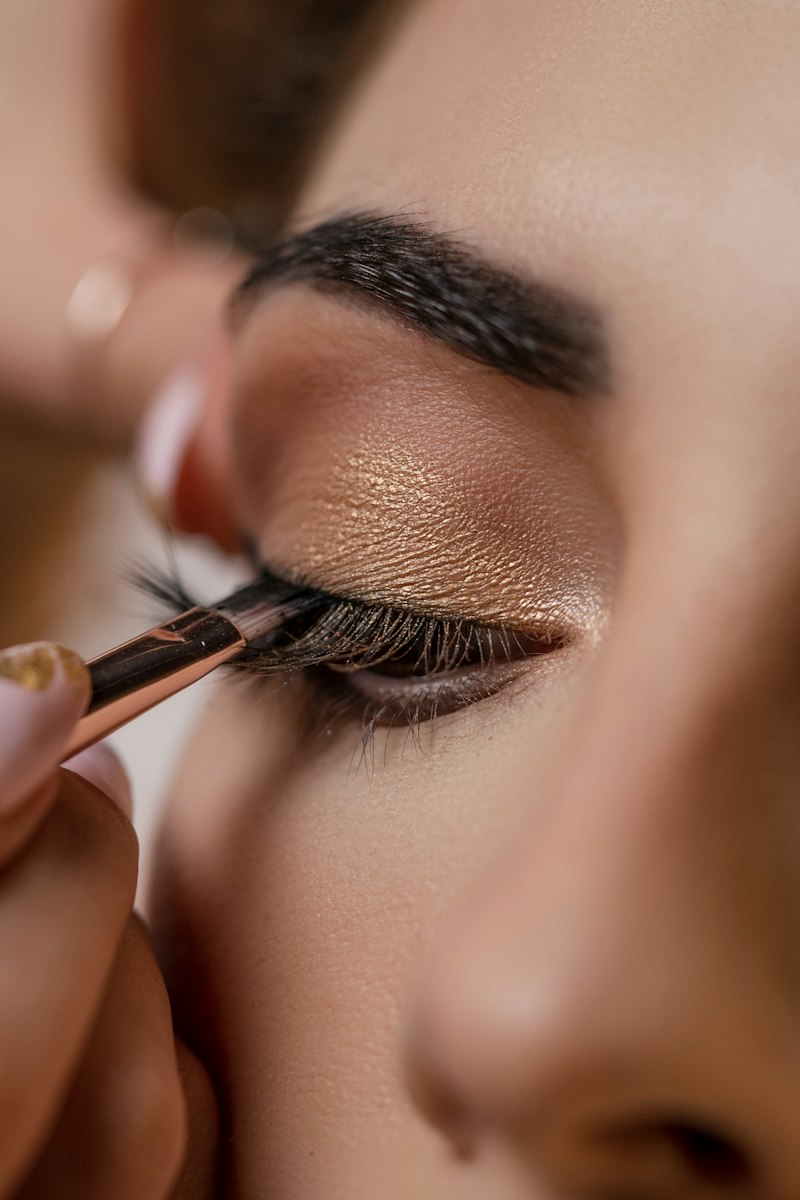
Tightlining Eyeliner Tutorial: Bigger Eyes, Fuller-Looking Lashes
A Certified Makeup Artist's beginner-friendly guide to tightlining — the eyeliner technique that makes eyes look bigger and lashes fuller with zero harsh lines.
Introduction
Tightlining is genuinely one of the most underrated techniques in eye makeup — it creates the appearance of thicker, fuller lashes and bigger eyes without any visible liner line at all. As a Certified Makeup Artist, I want to break down exactly what tightlining is, why it works, and how to do it safely even if you’re a complete beginner.
What Tightlining Actually Is
Tightlining involves applying eyeliner directly to the upper waterline and the roots of the upper lashes, rather than along the visible skin above the lash line the way traditional eyeliner is applied. The result fills in the gaps between individual lashes at the root, making them appear naturally thicker and fuller without creating a visible drawn-on line.
Why This Technique Creates Such a Natural Effect
Because the liner sits right at the lash root rather than as a separate line above it, tightlining reads as enhanced natural lashes rather than obvious makeup — this is exactly why it’s such a popular technique for a no-makeup-makeup look or as an invisible base underneath a more elaborate eye look.
Choosing the Right Formula: Pencil vs. Gel
A soft, creamy pencil formula is generally the most beginner-friendly choice for tightlining, since it glides on with minimal tugging on the delicate waterline area. Gel liner with a small, precise brush offers more longevity but can be trickier for beginners to control in such a small, sensitive area — start with pencil and graduate to gel once you’re comfortable with the technique.
How to Tightline Safely, Step by Step
Gently pull your upper eyelid up and slightly out to expose the waterline, and use small, short strokes rather than one continuous line, working in from the outer corner toward the inner corner. Blink periodically during application to help distribute the product naturally and check your progress as you go.
Tips for Sensitive Eyes and Contact Lens Wearers
If you have sensitive eyes or wear contacts, look specifically for an ophthalmologist-tested formula, and always insert or remove contacts before applying eyeliner near the waterline to minimize any risk of irritation. If you notice any discomfort during application, stop and reassess rather than pushing through irritation.
Avoiding Smudging Throughout the Day
Tightlining in this delicate, constantly-moving area can be more prone to smudging than liner applied to drier skin above the lash line. Setting the area lightly with a matching eyeshadow shade patted on top, using a small brush, helps lock the liner in place and extends wear significantly.
The Beauty Tips Guide
20+ years as a Licensed Master Esthetician and Makeup Artist, condensed into one guide.
Building on Tightlining for a Bigger Look
Once you’re comfortable with the basic technique, tightlining works beautifully as an invisible base underneath a smoky eye or winged liner look — it fills in the lash line so a wing or smokey shadow reads as a natural extension rather than starting from an obvious gap.
Practicing the Technique Without Frustration
Tightlining takes some practice to get comfortable with, especially the sensation of applying product so close to the waterline. Practice on a day without time pressure, and don’t get discouraged if your first few attempts feel awkward — this is a technique that genuinely improves with repetition.
Common Mistakes to Avoid
- Using a hard, dry pencil that tugs on the delicate waterline. A soft, creamy formula glides on with far less discomfort.
- Applying in one long continuous stroke instead of small, short ones. Short strokes give more control in this small, sensitive area.
- Skipping a setting step and expecting all-day wear. A light shadow patted over the liner significantly extends how long it lasts.
- Getting discouraged after an awkward first attempt. This technique genuinely improves with practice — give yourself several tries before judging it.
Pro Tips
- Start with a soft pencil formula, not gel, if you’re new to tightlining specifically.
- Use short, small strokes rather than trying to draw one continuous line along the waterline.
- Set with a matching shadow patted on top to extend wear and reduce smudging throughout the day.
- Practice on a low-pressure day to build comfort with the technique before relying on it for an important event.
Frequently Asked Questions
Is tightlining safe for contact lens wearers? Yes, generally, with an ophthalmologist-tested formula and by inserting or removing contacts before applying liner near the waterline to minimize irritation risk.
Why does my tightlining smudge throughout the day? The waterline area is naturally more prone to smudging than drier skin above the lash line — setting with a matching eyeshadow patted lightly on top significantly extends wear.
Should I use pencil or gel liner for tightlining? Pencil is generally more beginner-friendly since it glides with less tugging, while gel offers more longevity once you’re comfortable with the technique.
Can tightlining replace regular eyeliner entirely? It serves a different purpose — tightlining creates a natural, enhanced-lash effect, while traditional liner creates a visible line. Many people use both together depending on the look they’re going for.
Conclusion
Tightlining is a genuinely versatile technique that makes eyes look bigger and lashes fuller with zero harsh lines, and it’s approachable for beginners with the right formula and a little practice. Watch the full video above for the complete step-by-step tutorial. ✨
Related Posts

This Fall Makeup Look Works on Everyone: A Get-Ready-With-Me Tutorial
A versatile, easy fall makeup look that flatters every skin tone and eye shape — a full get-ready-with-me tutorial from base to lips.
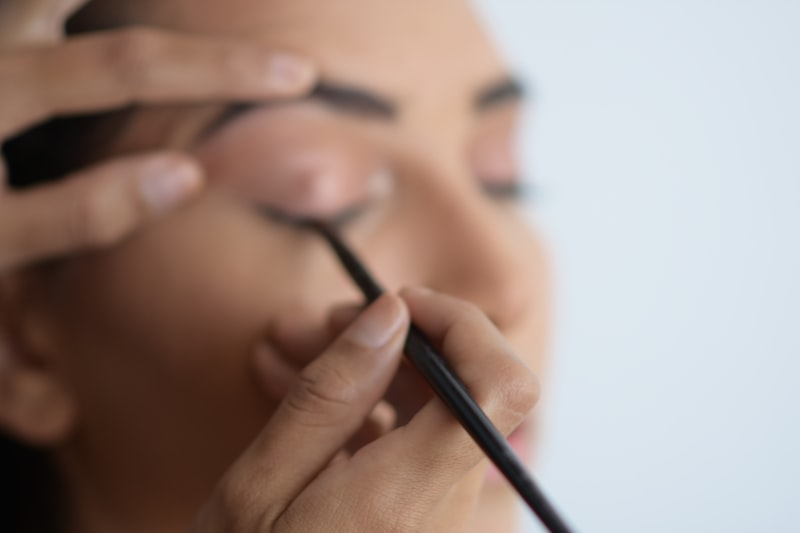
How to Get Perfect Winged Eyeliner Every Time
A step-by-step guide to consistent, symmetrical winged eyeliner — the technique, tool choice, and fixes for the most common mistakes.

Eyeshadow Tutorial for Beginners: How to Create a Soft Fox Eye Look
A beginner-friendly, step-by-step eyeshadow tutorial for the popular fox eye look — blending technique, placement, and the mistakes that ruin it.
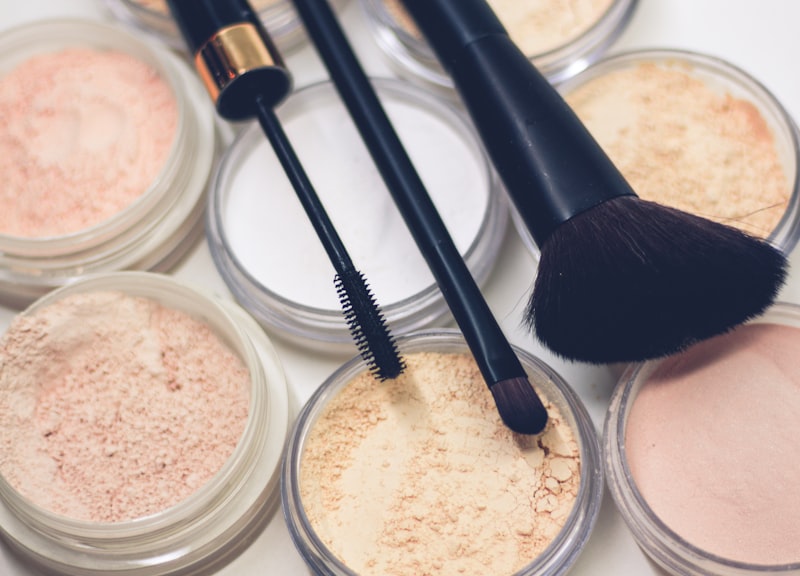
How to Use Setting Powder: The Baking Technique for Flawless, Long-Lasting Makeup
Learn how to set your foundation and concealer with powder, plus the baking technique for makeup that lasts all day without creasing or looking cakey.