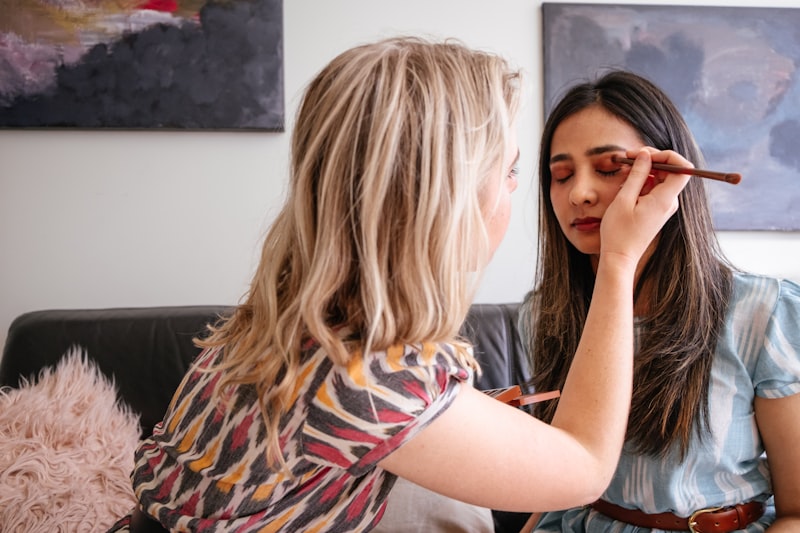
This Fall Makeup Look Works on Everyone: A Get-Ready-With-Me Tutorial
A versatile, easy fall makeup look that flatters every skin tone and eye shape — a full get-ready-with-me tutorial from base to lips.
By Rita Almusa, Licensed Master Esthetician — 20+ years of experience
Introduction
Fall makeup often gets associated with deep, dramatic colors that don’t suit everyone, but the look I want to walk through here is built around warmth and dimension rather than any specific bold shade — which is exactly why it translates across skin tones and eye shapes. This is a full get-ready-with-me tutorial, from skin prep through lips, using an easy, go-to formula you can adapt for everyday wear or dress up for something more special.
The Philosophy Behind This Look
Rather than chasing a specific trending color palette, this look focuses on warm undertones and soft dimension — a warmed-up base, bronzed and lifted cheeks, a soft warm eye, and a deeper (but not necessarily dark) lip. Because it’s built on warmth and technique rather than one specific shade family, you can swap in your own preferred colors within that warm-toned direction and still get a cohesive, flattering result.
Step-by-Step Tutorial
1. Prep Skin With a Hydrating Toner
Start with clean skin and a hydrating, alcohol-free toner, like the Fresh Cucumber & Witch Hazel Toner, to prep your skin before makeup. Well-prepped skin makes every product that follows blend more smoothly.
2. Apply a Warm-Toned Base
Foundation and concealer as usual, but this is a good moment to consider whether your usual shade could use a slightly warmer undertone for fall — many people shift very slightly warmer seasonally as their skin tone changes with sun exposure through the year.
3. Buff In Cream Bronzer for Warmth
Using your foundation brush, buff a cream bronzer into the hollows of your cheeks, temples, and jawline in small circular motions. This is doing double duty as both warmth and subtle contour.
4. Add a Warm Blush on Top
Layer a warm-toned blush (terracotta, warm rose, or brick tones work particularly well for fall) directly on the apples of your cheeks, blending up toward your temples.
5. Build a Soft, Warm Eye
Sweep a warm, matte transition shade through your crease, add a deeper warm brown to the outer corner for definition, and finish with a soft gold or bronze shimmer on the center of the lid for dimension.
6. Define With Liner and Mascara
A soft brown or black liner along the upper lash line, and a couple of coats of mascara, ties the warm eye together without looking heavy.
7. Finish With a Deeper Lip
A muted mauve, brick, or deep rose lip color finishes the look — deep enough to feel like “fall,” without needing to be a stark, opaque dark shade if that’s not your preference.
Adapting This Look Across Skin Tones
The warm-toned direction of this look genuinely translates across skin tones — what changes is the specific shade selection within that warm family. Deeper skin tones tend to suit richer, more saturated warm tones (deep terracotta, warm burgundy) beautifully, while lighter skin tones might lean toward softer warm shades (dusty rose, soft peach) to avoid the color looking too heavy relative to their base.
Transitioning This Look From Day to Night
One of the practical advantages of building a look around warmth rather than a specific trend is how easily it transitions. For an evening version of the same fall look, deepen the outer corner of your eye slightly, add a touch more highlighter intensity to the high points of your face, and swap your daytime lip for a slightly more saturated version of the same warm tone family — brick instead of soft rose, for example. You’re not starting over, just intensifying what’s already there.
The Beauty Tips Guide
20+ years as a Licensed Master Esthetician and Makeup Artist, condensed into one guide.
Adapting This Look Across Eye Shapes
- Hooded eyes: Focus your deeper shadow slightly higher than feels intuitive, and check your blending with eyes open since crease work can disappear when the lid is open.
- Monolid eyes: Rely more on the outer corner depth and a soft liner wing to create dimension, since traditional crease placement reads differently without a visible fold.
- Downturned eyes: A slight upward wing with your liner helps lift the overall shape, working well with this look’s existing warmth and dimension.
Making This Look Last All Day
Warm, dewy looks like this one can be prone to fading or shifting if the base isn’t set correctly. A light dusting of powder only where you actually get oily (usually the T-zone), rather than all over, preserves the glow while still adding some longevity. A setting spray at the very end, focused on locking in the cream products without flattening them, is worth the extra step if you know you’ll be wearing the look for a full day or evening out.
Common Mistakes to Avoid
- Choosing a bronzer or blush that’s too orange or ashy for your undertone — test in natural light before committing to a shade.
- Skipping the toner/prep step. Well-prepped skin genuinely changes how the rest of the look blends and wears throughout the day.
- Over-blending the eye until definition disappears. A soft look still needs some contrast between shades to read as intentional rather than flat.
- Choosing a lip color that fights with your blush undertone. Keeping both in the same warm family (both warm-toned, not one warm and one cool) creates a more cohesive overall look.
Pro Tips
- Warm cream products between your fingers before applying for smoother, more even blending.
- Build bronzer and blush in thin layers rather than one heavy application — you can always add more.
- Test lip colors against your blush, not in isolation, to make sure the overall look feels cohesive rather than competing.
- Take a full-face photo partway through to catch anything that needs adjusting before you consider the look finished — camera lighting often reveals things mirror-checking misses.
- Keep dedicated brushes for cream vs. powder products — browsing a full makeup brush collection to build out separate tools for each texture keeps blending cleaner than reusing one brush for everything.
Frequently Asked Questions
How long does this full look take once I’m comfortable with it? Most people land around 20-25 minutes for the complete look, including base, eyes, and lips.
Can I simplify this for an everyday, low-effort version? Yes — skip the deeper outer eyeshadow and liner wing, keep bronzer and blush light, and go with a simpler lip balm-tinted formula instead of a full lip color for a much faster version with the same warm-toned philosophy.
Does this look work for daytime, or is it more of an evening look? It’s genuinely versatile for both — keep the eye softer and skip a dramatic lip for daytime, or intensify the eye depth and go bolder on lips for an evening version.
What if I don’t own warm-toned eyeshadows? Even a single warm brown shade, used across both the crease and outer corner at different intensities, can achieve the soft warm-eye effect this look relies on — you don’t need a dedicated multi-shade fall palette to get the idea across.
Conclusion
This look works across such a range of skin tones and eye shapes because it’s built on a principle — warmth and soft dimension — rather than one specific trending shade combination. Watch the full get-ready-with-me tutorial above to see the complete process from start to finish, and don’t be afraid to swap in your own favorite warm-toned shades within this formula. ✨
Related Posts
How to Get Perfect Winged Eyeliner Every Time
A step-by-step guide to consistent, symmetrical winged eyeliner — the technique, tool choice, and fixes for the most common mistakes.
Eyeshadow Tutorial for Beginners: How to Create a Soft Fox Eye Look
A beginner-friendly, step-by-step eyeshadow tutorial for the popular fox eye look — blending technique, placement, and the mistakes that ruin it.
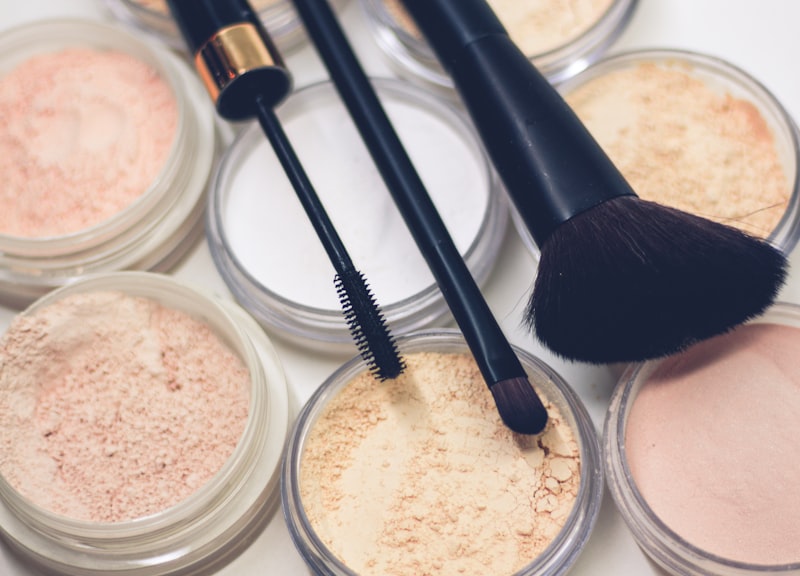
How to Use Setting Powder: The Baking Technique for Flawless, Long-Lasting Makeup
Learn how to set your foundation and concealer with powder, plus the baking technique for makeup that lasts all day without creasing or looking cakey.
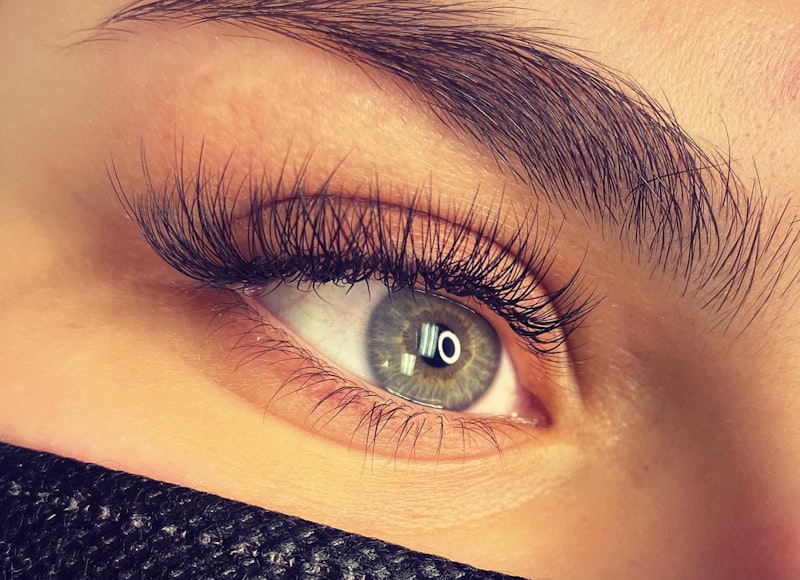
How to Get Anime-Inspired Lashes With Just Mascara
A Certified Makeup Artist's mascara tutorial for the trendy anime-inspired lash look — long, dramatic, wide-set lashes without falsies or extensions.