Natural Everyday Makeup Tutorial for Beginners
Learn how to create a natural, everyday makeup look perfect for work, school, or casual outings. Step-by-step tutorial with product recommendations.
By Rita Almusa, Licensed Master Esthetician — 20+ years of experience
Introduction
Do you want to look put-together but don’t have time for a complicated makeup routine? This natural, everyday makeup look is perfect for you! It takes about 10-15 minutes and uses simple, affordable products. The goal isn’t to look like you’re wearing makeup at all — it’s to look like a well-rested, slightly enhanced version of your own skin.
Why “Natural” Doesn’t Mean “No Effort”
There’s a common misconception that a natural makeup look means throwing on a tinted moisturizer and calling it done. In reality, a genuinely natural finish often takes more technique than a full glam look — the whole point is that the products blend so seamlessly you can’t tell where your skin ends and the makeup begins. That means blending matters more here than in almost any other style of makeup.
What You’ll Need
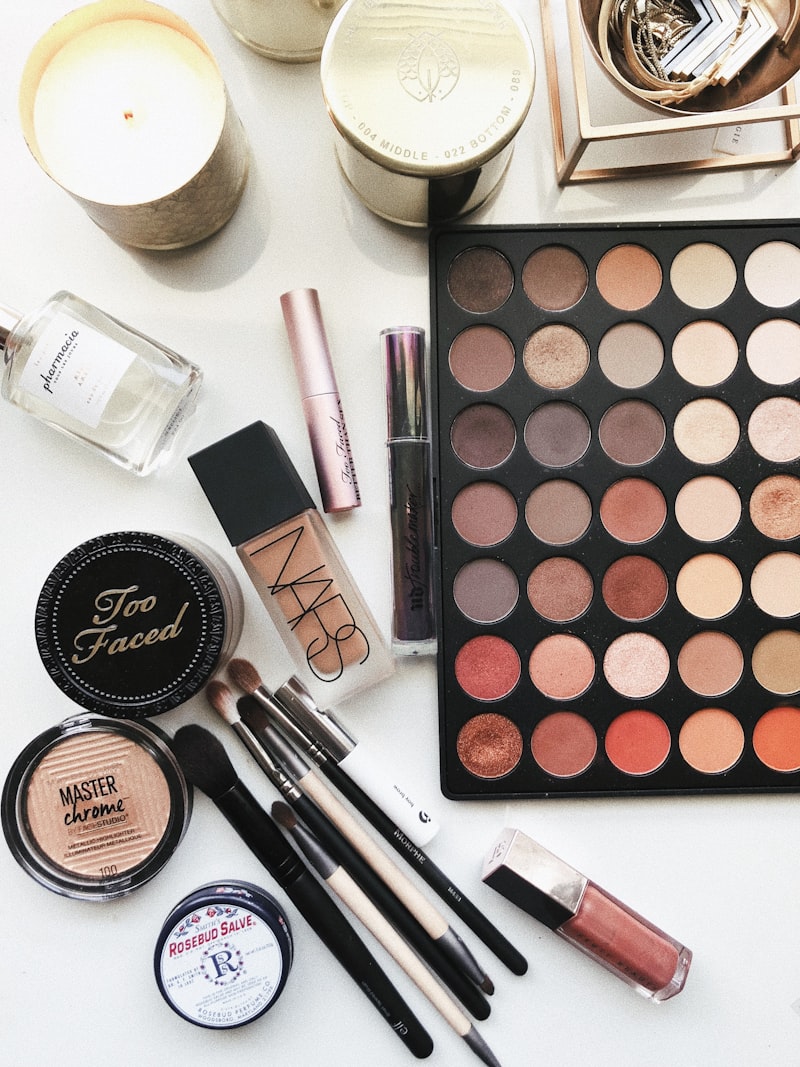
Base Products
- Primer
- Foundation or BB cream
- Concealer
- Loose or pressed powder
Eye Products
- Neutral eyeshadow palette
- Mascara
- (Optional) eyeliner
Face Products
- Cream or powder blush
- Bronzer
- Highlighter
Lip Products
- Lip balm
- Nude or natural lip tint
Step-by-Step Tutorial
Step 1: Prep Your Skin
Apply moisturizer and let it set for a few minutes. Then apply primer to help your makeup last all day. Skin prep matters more for a natural look than almost any other step, since there’s nowhere for uneven texture or dryness to hide under a light base.
Step 2: Base
Apply foundation or BB cream using a damp beauty sponge. Blend thoroughly, especially around the nose and jawline. Use concealer on any blemishes or dark circles.
Set with a light dusting of loose powder, focusing on the T-zone.
Step 3: Eyes
- Eyeshadow: Apply a light neutral shade all over the lid. Use a slightly darker shade in the crease for dimension.
- Mascara: Apply 2-3 coats of mascara to upper lashes. You can skip lower lashes for a more natural look.
- Optional: A thin line of brown or black eyeliner on the upper lash line adds definition.
Step 4: Face Contouring
- Blush: Apply cream blush to the apples of your cheeks with a damp beauty sponge for a natural flush.
- Bronzer: Lightly apply bronzer to the hollows of your cheeks, temples, and jawline.
- Highlight: Apply a subtle highlight to the high points of your face (cheekbones, nose bridge, brow bone).
Step 5: Lips
Apply lip balm and then a natural lip tint or nude lipstick. Blot for a more natural appearance.
Step 6: Set
Spray with setting spray to keep everything in place throughout the day.
Choosing the Right Products for a Natural Finish
Not every product formula supports a natural look equally well, regardless of technique:
- Foundation: Look for “skin-like” or “second-skin” finishes rather than full-coverage matte formulas — sheer to medium buildable coverage lets your natural texture show through instead of getting flattened.
- Blush and bronzer: Cream and liquid formulas tend to melt into skin more naturally than powder, especially on drier skin types, though powder can work well on oilier skin.
- Highlighter: A subtle, skin-like sheen reads more natural than a heavy, glittery finish — save the intense shimmer for evening looks.
- Setting spray: A dewy or natural-finish setting spray maintains the look you built; a matte setting spray can flatten cream products and work against the effect you’re going for.
Building a Simple Brush Kit for This Look
You don’t need a huge brush collection for a natural everyday look — a focused set does everything here:
- A damp beauty sponge for foundation and cream products, which gives the most skin-like finish for a natural base.
- A small, fluffy powder brush for the light dusting of setting powder in step two.
- A medium blending brush for eyeshadow — one brush is genuinely enough for this simple two-shade eye look.
- A fan or small powder brush for a light dusting of bronzer and highlighter, which helps prevent overapplying either one.
Investing in a few good multi-use brushes will do more for how polished this look turns out than any specific product choice.
The Beauty Tips Guide
20+ years as a Licensed Master Esthetician and Makeup Artist, condensed into one guide.
Common Mistakes to Avoid
- Over-blending eyeshadow into a smoky look. A natural look uses shadow for subtle dimension, not drama — stop blending once you have soft definition, not a full gradient.
- Skipping blush. Bare cheeks can look flat and tired even with everything else done well. A little blush does more for a “natural glow” than most other single steps.
- Using too much powder. This is the fastest way to turn a soft, skin-like base into something flat and cakey. Powder only where you actually get oily.
- Overdoing highlighter. A little goes a long way for a natural finish — you want a glow, not a spotlight.
Adapting This Look for Different Occasions
The base technique here works for far more than just an everyday office look:
- For school or errands: Skip the eyeliner and highlighter entirely for an even faster, five-minute version.
- For a slightly more polished daytime look: Add a thin line of brown eyeliner and a touch more bronzer for definition without crossing into “done up” territory.
- For video calls or photos: Add a touch more highlighter and a slightly deeper lip color — the camera tends to flatten subtle makeup, so a little extra intensity reads as natural on screen.
Pro Tips for Beginners
- Use cream products - They blend more easily than powder
- Invest in good brushes - They make application so much easier
- Don’t be afraid of blending - Blend, blend, blend!
- Practice makes perfect - It might take a few tries to find what works for you
- Match your foundation correctly - Go to a makeup counter for a match if you’re unsure
- Build in thin layers - You can always add more product, but it’s much harder to remove excess once it’s blended in
Frequently Asked Questions
How long should a natural everyday routine actually take once I’m comfortable with it? Most people get this down to 10 minutes or less with practice. The eye and base steps take the most time when you’re learning; both get significantly faster with repetition.
Can I do this look without foundation at all? Yes — a tinted moisturizer or skin tint in place of foundation works well for an even more minimal version of this look, especially if your skin doesn’t need much coverage to begin with.
What if my skin is oily and this look doesn’t last? Focus your setting powder specifically on your oiliest areas (usually the T-zone) rather than skipping powder altogether, and consider blotting papers midday instead of reapplying more product on top of what’s already there.
Is this look appropriate for a job interview or professional setting? Yes — this is actually one of the most versatile “safe” looks for professional settings specifically because it reads as polished without looking heavily made-up. If anything, lean slightly more conservative on eyeliner and skip the highlighter for the most buttoned-up version.
How do I adjust this for mature skin? Cream and liquid formulas generally photograph and wear better on mature skin than powder, since powder can settle into fine lines and emphasize texture. Focus extra blending time around any areas prone to settling, like under the eyes, and consider a dewier finish overall.
Conclusion
This natural makeup look is timeless and works for any occasion. Once you master it, you can build on it with bolder colors or more intense products. The key is practice and finding what makes you feel confident.
Have fun with it, and remember—makeup is for YOU! If you want more guidance like this in one place, I put it all together in The Beauty Tips Guide. ✨
Related Posts

This Fall Makeup Look Works on Everyone: A Get-Ready-With-Me Tutorial
A versatile, easy fall makeup look that flatters every skin tone and eye shape — a full get-ready-with-me tutorial from base to lips.
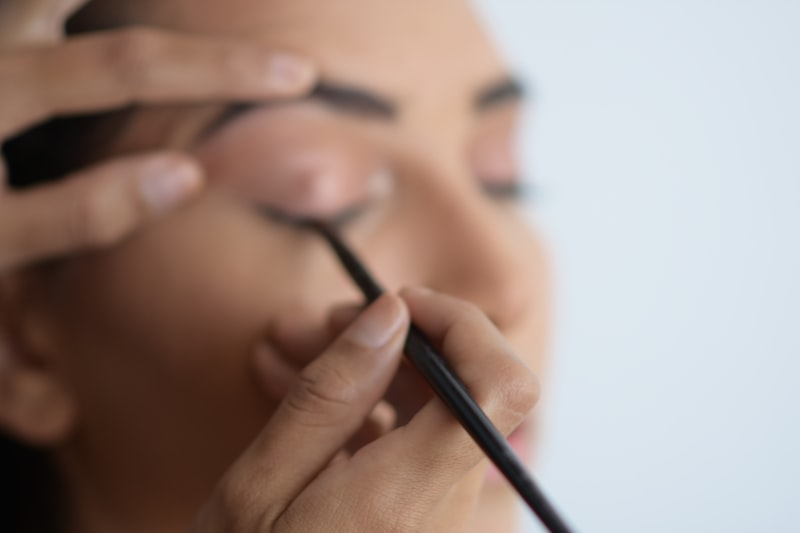
How to Get Perfect Winged Eyeliner Every Time
A step-by-step guide to consistent, symmetrical winged eyeliner — the technique, tool choice, and fixes for the most common mistakes.
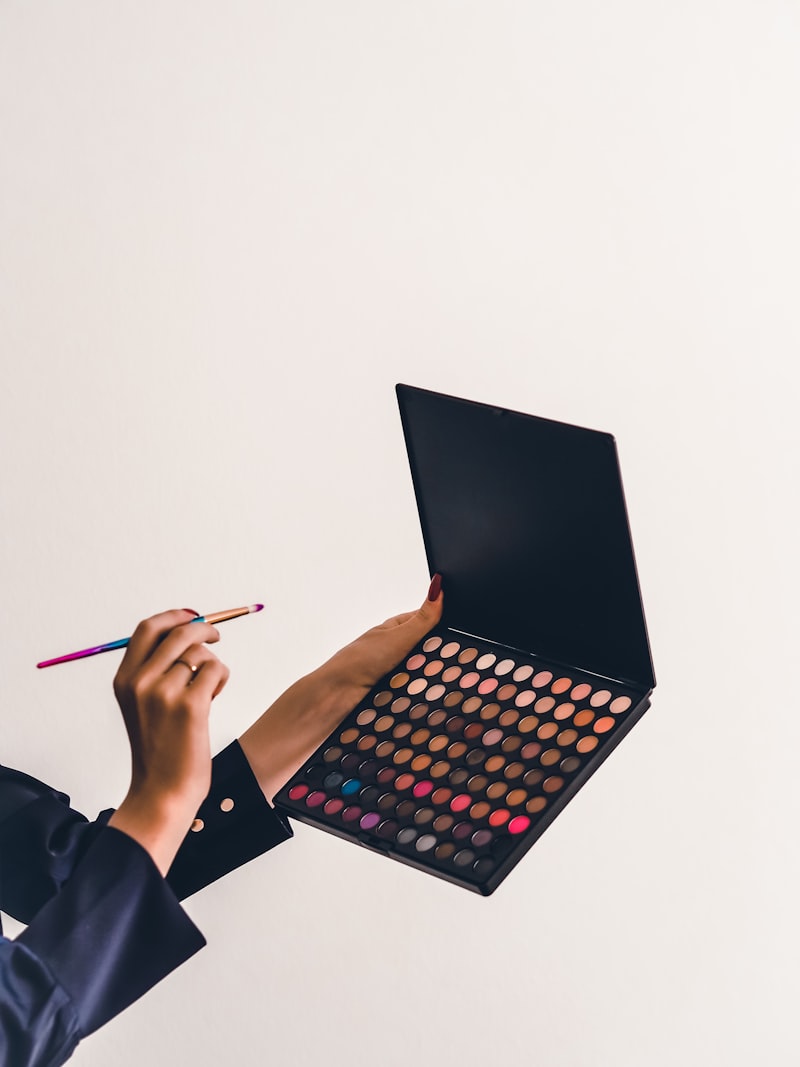
Eyeshadow Tutorial for Beginners: How to Create a Soft Fox Eye Look
A beginner-friendly, step-by-step eyeshadow tutorial for the popular fox eye look — blending technique, placement, and the mistakes that ruin it.
How to Use Setting Powder: The Baking Technique for Flawless, Long-Lasting Makeup
Learn how to set your foundation and concealer with powder, plus the baking technique for makeup that lasts all day without creasing or looking cakey.