How to Clean Your Makeup Brushes Quickly and Properly
A Master Esthetician's simple, effective technique for cleaning makeup brushes at home, plus why regular brush hygiene matters more than people realize.
Introduction
Clean makeup brushes aren’t just about extending the life of your tools — they’re a genuine skin health issue, since dirty brushes accumulate bacteria, oil, and old product that can contribute to breakouts and irritation. As a Master Esthetician, I want to walk through my simple, effective brush-cleaning technique and explain why this habit matters more than people realize.
Why Brush Hygiene Is a Genuine Skin Health Concern
Every time you use a makeup brush, it picks up a mix of bacteria from your skin, residual product, and natural oils. Without regular cleaning, this buildup gets reapplied to your face with every use, which can genuinely contribute to breakouts, clogged pores, and skin irritation over time — this isn’t just a maintenance nicety, it’s a real hygiene consideration.
How Often You Should Actually Wash Your Brushes
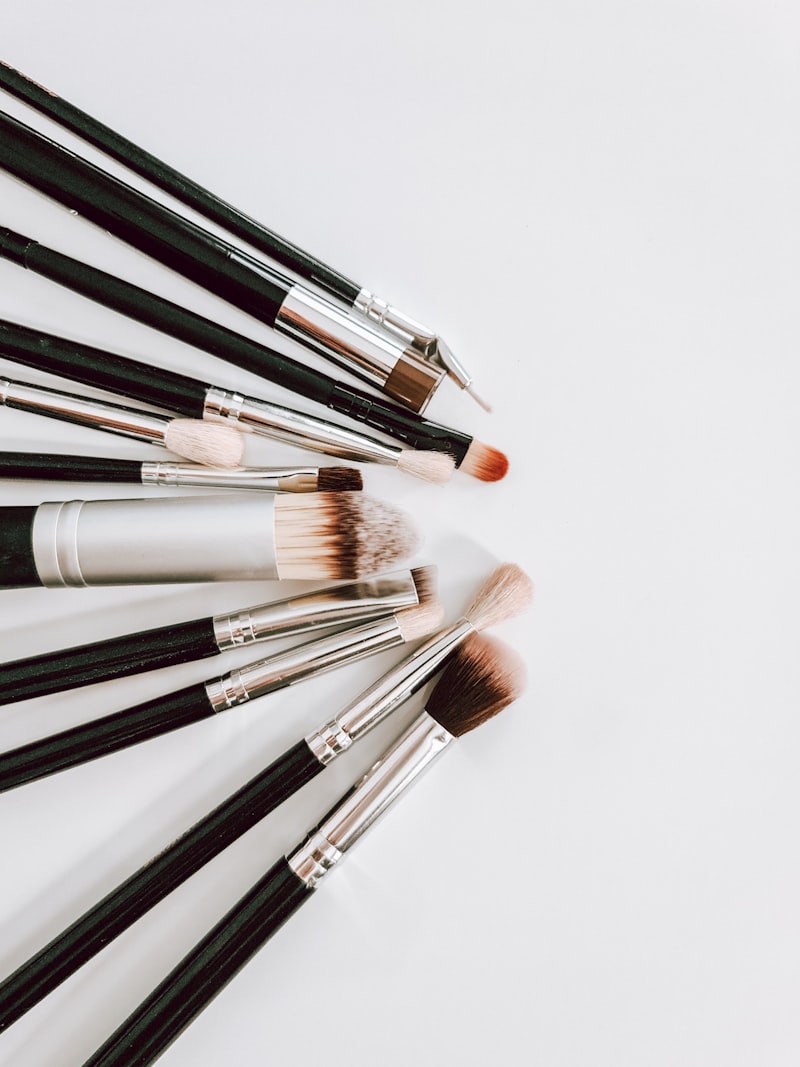
Aim to wash your brushes at least once a week for general sanitation, though brushes used with liquid or cream products (foundation, concealer) benefit from more frequent cleaning than brushes used only with powder products, since liquid formulas harbor bacteria more readily. A flat-top kabuki brush, for example, sees liquid foundation almost daily, so it deserves more frequent attention than a fluffy powder blush brush from the same 7 piece brush set.
What You Actually Need to Clean Brushes Properly
You don’t need a specialized, expensive brush cleaner — lukewarm water combined with a gentle cleanser, your regular makeup remover, or even a high-quality shampoo all work effectively to break down oil and product buildup on brush bristles.
The Correct Washing Technique
Wet bristles with lukewarm water, keeping the water flow angled downward and away from the ferrule — the metal part connecting the bristles to the handle. Getting water up inside the ferrule can loosen the glue holding bristles in place or weaken the connection between the ferrule and handle over time, which is a common way brushes get damaged through improper cleaning.
Working the Cleanser Through the Bristles
Gently massage a small amount of cleanser into the bristles using circular motions, working from the base toward the tips, until the water running off the brush becomes clear rather than colored with old product and buildup. Avoid aggressive scrubbing, which can fray bristles or loosen them from the ferrule over time.
Rinsing Thoroughly
Rinse until water runs completely clear, with no visible soap or product residue. Leftover cleanser residue in the bristles can cause irritation the next time you use the brush on your skin, so don’t rush this step even once the brush looks visibly clean.
Drying Brushes the Right Way
This step matters more than people realize: always dry brushes with the bristles pointing downward, never standing upright in a cup, which allows water to seep into the ferrule and loosen the bristles or handle over time. A mesh drying rack that lets brushes hang bristle-down while air drying is a simple, effective solution that protects your brushes’ longevity.
The Beauty Tips Guide
20+ years as a Licensed Master Esthetician and Makeup Artist, condensed into one guide.
Signs You’re Overdue for a Brush Cleaning
Visible product buildup at the base of the bristles, a brush that feels stiff or clumped rather than soft, or noticeably reduced makeup application quality are all signs your brushes are overdue for a proper cleaning, regardless of how long it’s actually been since the last wash.
Building Brush Cleaning Into Your Routine
Set a consistent day each week for brush washing, similar to any other recurring self-care habit — this consistency prevents the buildup from ever getting bad enough to affect your skin or your makeup application quality in the first place.
Common Mistakes to Avoid
- Letting water get up into the ferrule during washing. This can loosen the glue holding bristles and the connection to the handle.
- Drying brushes standing upright in a cup. This allows water to seep into the ferrule and cause damage over time — always dry bristle-down.
- Scrubbing too aggressively during cleaning. This can fray bristles or loosen them prematurely.
- Rinsing before all product residue is fully removed. Leftover cleanser can cause irritation on your next use.
- Waiting until brushes are visibly dirty to clean them. Regular weekly cleaning prevents buildup from ever becoming a skin health concern.
Pro Tips
- Wash liquid and cream product brushes more frequently than powder-only brushes, since bacteria accumulate more readily in liquid formula residue.
- Angle water flow away from the ferrule to protect the bristle-to-handle connection during washing.
- Always dry brushes bristle-down, using a proper drying rack, rather than standing them upright in a cup.
- Set a consistent weekly cleaning day to build this into a sustainable habit rather than an occasional afterthought.
Frequently Asked Questions
How often should I really be washing my makeup brushes? At least once a week for general sanitation, with more frequent cleaning for brushes used with liquid or cream products specifically.
Do I need a special brush cleaner, or can I use what I already have? A gentle cleanser, your regular makeup remover, or even a quality shampoo all work effectively — you don’t need a specialized, expensive product.
Why shouldn’t I dry my brushes standing upright? Standing them upright allows water to seep into the ferrule, which can loosen the glue holding bristles in place or weaken the connection to the handle over time.
Is dirty brush hygiene really a skin health concern? Yes, genuinely — brushes accumulate bacteria, oil, and old product buildup that gets reapplied to your skin with every use, which can contribute to breakouts and irritation.
Conclusion
Clean makeup brushes are a genuine skin health habit, not just routine maintenance — a consistent weekly cleaning routine, done correctly, protects both your skin and your brushes’ longevity. Watch the full video above for the complete demonstration. ✨
Related Posts

This Fall Makeup Look Works on Everyone: A Get-Ready-With-Me Tutorial
A versatile, easy fall makeup look that flatters every skin tone and eye shape — a full get-ready-with-me tutorial from base to lips.
How to Get Perfect Winged Eyeliner Every Time
A step-by-step guide to consistent, symmetrical winged eyeliner — the technique, tool choice, and fixes for the most common mistakes.

Eyeshadow Tutorial for Beginners: How to Create a Soft Fox Eye Look
A beginner-friendly, step-by-step eyeshadow tutorial for the popular fox eye look — blending technique, placement, and the mistakes that ruin it.
How to Use Setting Powder: The Baking Technique for Flawless, Long-Lasting Makeup
Learn how to set your foundation and concealer with powder, plus the baking technique for makeup that lasts all day without creasing or looking cakey.