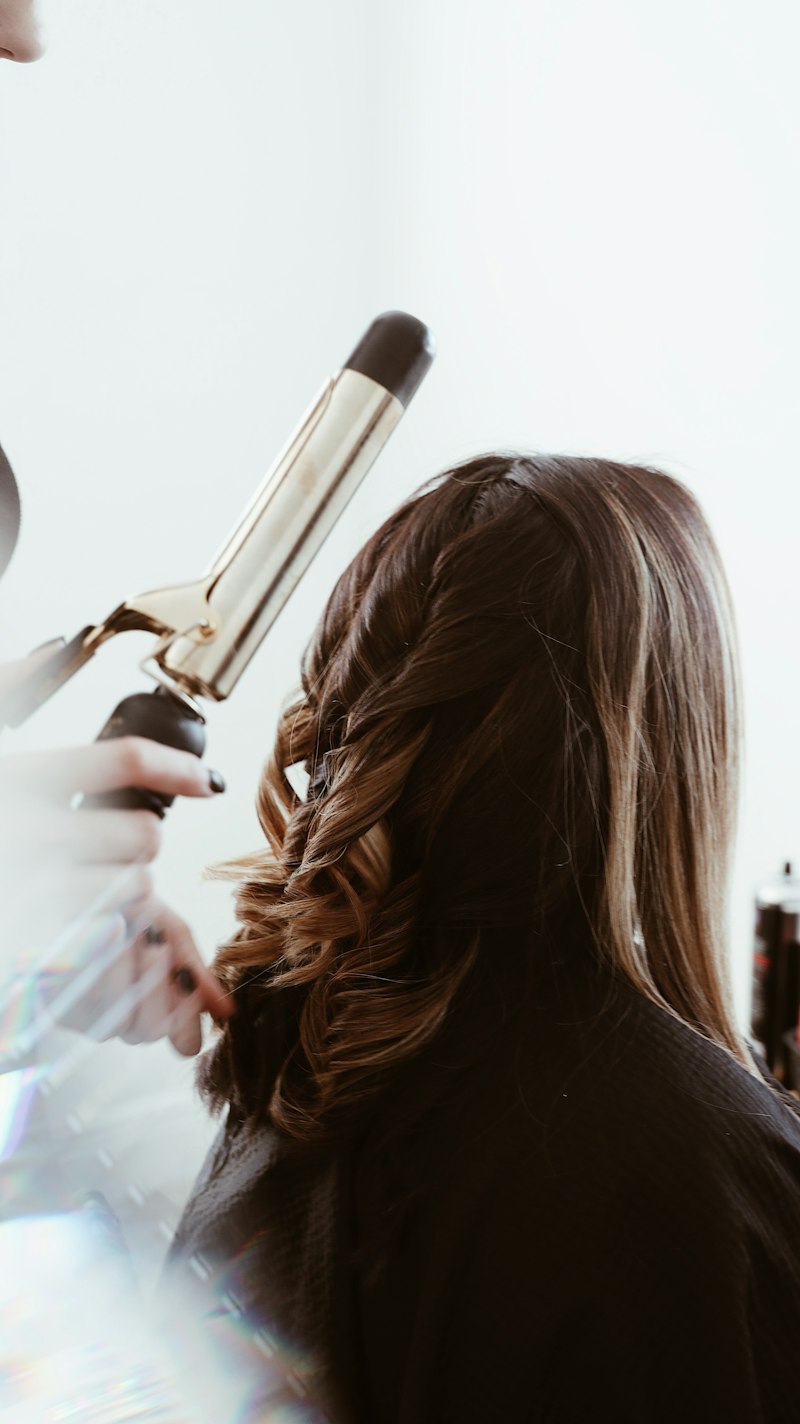
Dyson Airwrap Curling Tutorial: Soft Waves for Medium to Long Hair
A step-by-step Dyson Airwrap tutorial for soft, voluminous waves on medium to long hair — attachment choice, sectioning, and the mistakes that ruin the curl.
By Rita Almusa, Licensed Master Esthetician — 20+ years of experience
Introduction
The Dyson Airwrap has a reputation for being intimidating — an expensive tool with multiple attachments and a learning curve that puts a lot of people off before they even try it. Once you understand how it actually works, though, it’s one of the fastest, gentlest ways to get soft, salon-quality waves on medium to long hair, without the heat damage of a traditional curling iron. This tutorial breaks down exactly how I use mine to get consistent, voluminous waves every time.
Why the Airwrap Curls Differently
Unlike a curling iron, the Airwrap doesn’t rely purely on direct heat contact to shape hair. It uses the Coanda effect — airflow that wraps hair automatically around the barrel — combined with lower, more controlled heat than a typical iron. That’s the whole appeal: less thermal damage over time, and hair that curls around itself instead of you having to manually wrap each section. The tradeoff is that technique matters more than with a standard iron — how you present the section to the barrel determines whether it wraps cleanly or not.
What You’ll Need
- Dyson Airwrap with the barrel attachments (1.2-inch barrels are the most versatile for medium to long hair)
- Heat protectant or a lightweight thermal spray
- A volumizing or shine serum
- A flexible-hold hairspray
- Sectioning clips
Choosing the Right Attachments
The barrels get most of the attention, but the Airwrap system includes several attachments worth understanding before you start:
- Long barrels (1.2-inch) create the loose, voluminous wave this tutorial focuses on — best for medium to long hair.
- Long barrels (1.6-inch, on newer models) give an even looser, more relaxed wave for longer hair that needs a bigger barrel to avoid tight, springy curls.
- The round volumizing brush isn’t for curling at all — it’s meant for root lift and smoothing during blow-dry, and it’s worth using before you curl to build volume at the scalp first.
- The Coanda smoothing dryer is a flat, paddle-style attachment for a smooth, straight blowout rather than waves — useful to know about even if it’s not part of this specific tutorial.
If you only buy one set of barrels, the 1.2-inch pair is the most versatile choice for the widest range of hair lengths and wave sizes.
Step-by-Step Tutorial
1. Start on Completely Dry Hair
This is different from a lot of curling irons — the Airwrap barrels work best on fully dry hair, not slightly damp. Make sure hair is 100% dry before you start, or the wrap won’t hold its shape.
2. Apply Heat Protectant and Serum First
Since you’re working on dry hair, apply a lightweight heat protectant and a small amount of shine serum through the lengths before you begin. This also helps the hair glide into the barrel more smoothly.
3. Section Into Manageable Pieces
Divide hair into four to six sections depending on thickness and length. Clip everything out of the way except the section you’re working on. Smaller sections wrap more predictably than large ones.
4. Present the Section Correctly
This is the step most people get wrong. Hold the section taut, place it against the barrel near the root, and let the airflow do the wrapping — don’t force it around manually like you would with an iron. If it doesn’t catch on the first try, don’t keep forcing it; reset and try again with a slightly smaller piece.
5. Hold for the Full Cycle
Let each section sit on the barrel for the recommended time (check your model’s timer beep) before releasing. Releasing too early is the single biggest reason Airwrap curls fall out within an hour.
6. Alternate Curl Direction
Just like with a traditional iron, alternate which way each section wraps — away from your face on some pieces, toward it on others. This keeps the finished look soft and undone instead of uniform and “curled.”
7. Let Everything Cool Before Styling
Once every section is done, resist the urge to touch it immediately. Let the curls set fully — a few minutes is usually enough — before you brush through or shake anything out.
8. Brush Out and Finish
Use your fingers or a wide-tooth comb to loosen the curls into waves. A boar bristle brush will soften them further if you want a more blended, less “curled” look. Finish with a flexible-hold hairspray focused on the roots and ends.
The Beauty Tips Guide
20+ years as a Licensed Master Esthetician and Makeup Artist, condensed into one guide.
Common Mistakes to Avoid
- Starting on damp hair. The Airwrap is not a blow-dry tool for wet hair when you’re using it for curling — dry hair holds the wrap far better.
- Sections that are too large. Big chunks of hair won’t wrap evenly around the barrel and often result in half-curled pieces.
- Releasing before the cycle finishes. Curls that come off the barrel too early relax almost immediately.
- Forcing the wrap. If a section isn’t catching naturally, forcing it against the airflow usually creates a kink rather than a smooth curl.
Airwrap vs. a Traditional Curling Iron
If you’re deciding whether it’s worth the investment, the honest answer is that it depends on what you’re optimizing for. A traditional iron gives you more manual control over exactly how tight or loose each curl is, and it’s cheaper to replace if something breaks. The Airwrap trades some of that manual control for significantly less heat exposure and a genuinely faster styling routine once you’ve learned the technique — most of my full head takes noticeably less time than with an iron, since I’m not manually wrapping every section by hand.
Troubleshooting Common Problems
My hair won’t catch on the barrel. This is almost always a section-size or hair-position issue. Try a slightly smaller section, and make sure the hair is coming from directly below the barrel rather than at an angle — the airflow needs a straight path to catch it.
The curl looks tight and springy instead of soft. This usually means the barrel size is too small for the look you want, or the section was too thin. Size up your barrel or take slightly larger sections for a looser wave.
My waves fall out within an hour. Check three things: whether you let each section fully cool before releasing, whether you’re using a flexible hairspray with enough hold, and whether your hair was completely dry before you started (any residual dampness shortens hold significantly).
The tool feels like it’s tugging or catching on knots. Always detangle thoroughly before you start. A knot or tangle caught in the airflow can pull uncomfortably and disrupt the wrap.
Pro Tips
- Match barrel size to your hair length — smaller barrels for shorter layers, larger ones for length and looser waves.
- Don’t skip the heat protectant — the tool runs cooler than an iron, but protectant still helps with glide and shine.
- Do face-framing pieces last — curl the front sections after everything else so you can judge how they should sit relative to the rest of the style.
- Refresh with dry shampoo, not more heat — day-two waves refresh well with a light dry shampoo at the roots instead of re-curling.
Frequently Asked Questions
Does the Dyson Airwrap work on all hair types? It works best on hair with some texture already and can be trickier on very fine or very straight hair, which may need smaller barrels and more practice with the wrap technique.
How long do Airwrap curls typically last? With a proper cool-down and a flexible hairspray, most people get a full day of hold, and waves often refresh nicely into day two with dry shampoo.
Is the Airwrap worth it if I already own a curling iron? If you’re happy with your current results and routine, you don’t need to replace a perfectly good iron. It’s worth considering if you’re specifically looking to reduce heat exposure over time or want a faster all-in-one styling routine that also handles smoothing and volume.
How do I clean the barrels to keep them working well? Wipe the barrels down after each use to remove product buildup, and periodically clean the filter at the base of the handle — a blocked filter reduces airflow, which directly affects how well the wrap technique works.
Conclusion
The Airwrap has a real learning curve, but it’s a technique problem, not a tool problem — once you understand how to present hair to the barrel and let the airflow do the work, it becomes one of the fastest parts of your routine. Watch the tutorial above for the technique in motion, and give yourself a few tries before deciding whether it’s for you. Like any styling tool, it gets easier every single time. ✨
Related Posts
How to Get Heat-Free Waves: Bouncy Soft Curls With No Heat Damage
A step-by-step guide to genuinely heat-free curls — soft, bouncy waves using rollers and technique alone, no curling iron required.
Half-Up Waterfall Ponytail Hairstyle That Actually Works
A step-by-step tutorial for a half-up waterfall ponytail — no extensions needed, just the technique that makes it look effortlessly full.
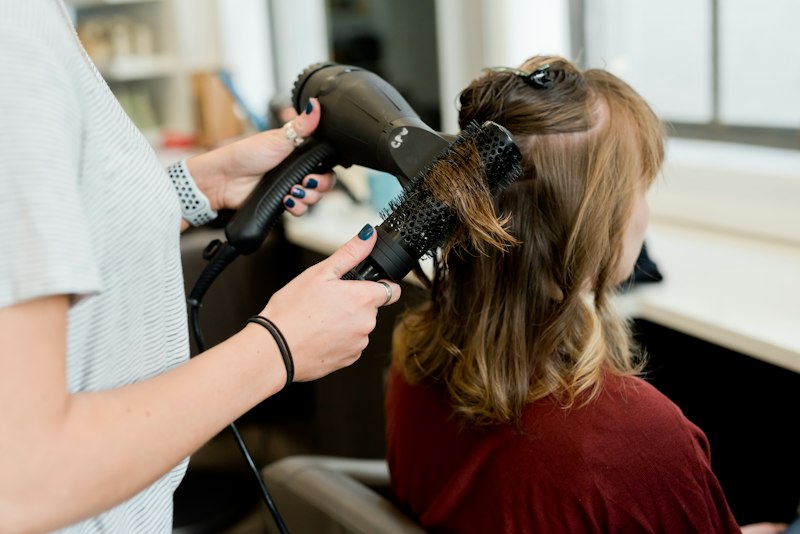
How to Use a One-Step Hair Dryer Brush for a Salon Blowout at Home
A step-by-step guide to using a one-step hot air brush for a smooth, voluminous salon-style blowout at home, plus how to choose the right one.
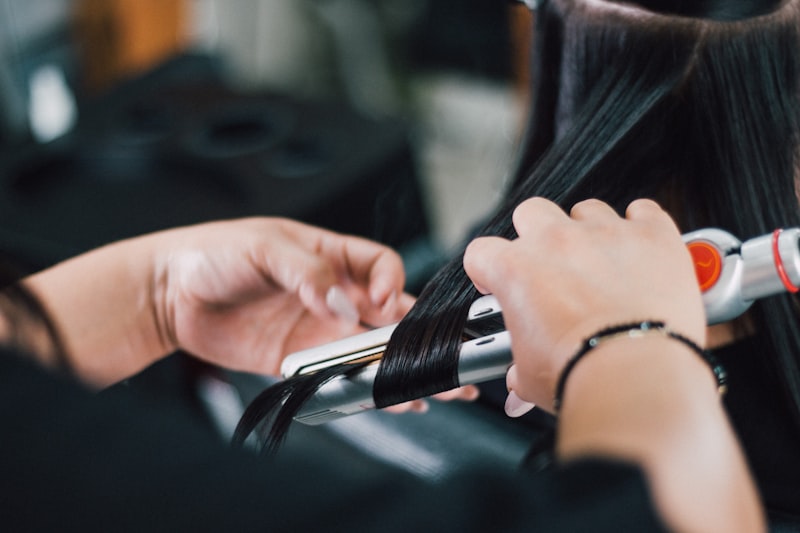
How to Curl Your Hair with a Flat Iron: Soft Beach Waves for Short to Medium Hair
Get soft, undone beach waves using just a flat iron — a full technique breakdown for short to medium hair, no curling iron required.