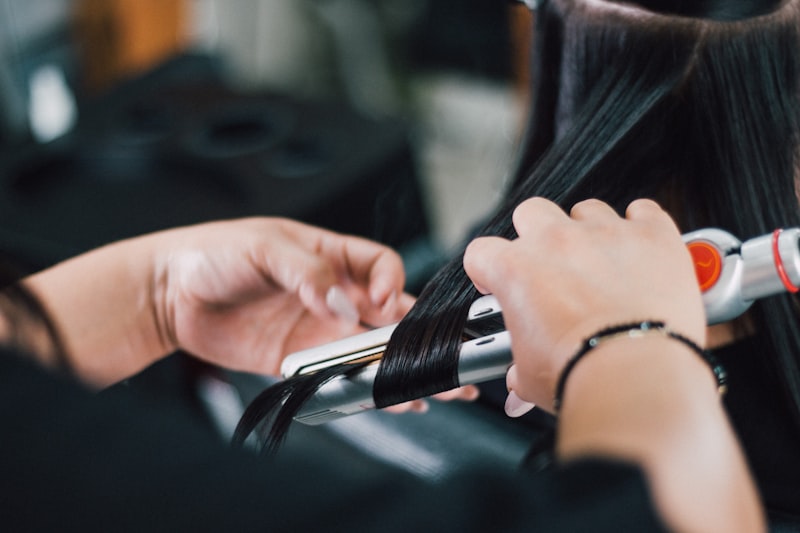
How to Curl Your Hair with a Flat Iron: Soft Beach Waves for Short to Medium Hair
Get soft, undone beach waves using just a flat iron — a full technique breakdown for short to medium hair, no curling iron required.
By Rita Almusa, Licensed Master Esthetician — 20+ years of experience
Introduction
If a curling iron isn’t your thing — or it’s the only hot tool you actually own — you don’t need anything else to get soft, beachy waves. A flat iron can create a wave pattern that’s arguably softer and more natural-looking than a traditional curling iron, once you know the twist-and-glide motion that makes it work. I covered curling iron beach waves in an earlier tutorial; this is the flat iron version for anyone who prefers one tool that does double duty.
Why a Flat Iron Can Curl Hair
A flat iron curls hair through a twisting motion as you glide the plates down the section, rather than wrapping hair around a barrel the way a curling iron does. The result tends to be a looser, more textured wave — less uniform “ringlet” and more of an undone, lived-in look. It’s also genuinely faster once you have the motion down, since you’re not manually wrapping each piece.
What You’ll Need
- A flat iron with rounded edges (a true flat iron works, but a “twist” style 2-in-1 curling flat iron makes the motion easier for beginners)
- Heat protectant spray
- A detangling brush
- A lightweight leave-in or moisture cream for the ends
- A volumizing or thermal hairspray
Choosing the Right Flat Iron for Curling
Not every flat iron curls equally well. A few things matter more than you’d expect:
- Rounded edges over sharp, flat corners. Sharp-edged plates make the twist motion harder to execute smoothly and are more likely to leave a visible crease line where the corner presses into the hair.
- Plate width relative to your hair length. Narrower plates (around 1 inch) are more maneuverable for shorter hair and tighter curls; wider plates suit longer hair and looser waves.
- Temperature control. Fine or color-treated hair needs a lower range than thick, coarse hair — a flat iron with precise, adjustable temperature settings gives you more control than a single fixed-heat tool.
- “Twist” style 2-in-1 tools. Some flat irons are specifically designed with a rounded barrel-like shape built into the plates, which makes the twisting motion more intuitive for beginners than a true flat, dual-plate iron.
Step-by-Step Tutorial
1. Detangle and Prep
Start with fully dry, detangled hair. Run a detangling brush through from ends to roots, then apply heat protectant evenly through the lengths.
2. Section Your Hair
Divide hair into two to four sections, clipping the top layers out of the way. Short to medium hair curls faster than long hair, so don’t over-section — two or three manageable pieces per side is usually enough.
3. Clamp Near the Root
Starting close to (but not at) the scalp, clamp the flat iron around a one to two inch section.
4. Twist and Glide
This is the core motion: rotate the iron a half turn away from your face while gliding it slowly down the length of the hair. The twist is what creates the wave shape — a straight glide with no rotation will just straighten the hair instead.
5. Keep the Motion Slow and Even
Resist the urge to rush the glide. A slow, steady pass gives the wave time to actually set into the hair shaft. Rushing it usually produces a weak, half-formed wave that falls out quickly.
6. Alternate Direction by Section
Twist some sections away from your face and others toward it, especially through the front pieces. This keeps the finished wave from looking too uniform.
7. Let Each Piece Cool Before Touching It
Pin each curled section against your head as you finish it, so it holds its shape while cooling instead of relaxing under its own weight.
8. Brush and Shake Out
Once everything has cooled, brush through gently with a soft-bristle or detangling brush to blend the curls into waves, then finish with a light mist of hairspray at the roots for lift.
The Beauty Tips Guide
20+ years as a Licensed Master Esthetician and Makeup Artist, condensed into one guide.
Common Mistakes to Avoid
- Gliding without twisting. This is the number one reason a flat iron “doesn’t work” for curls — without the rotation, you’re just straightening.
- Clamping too close to the scalp. Leave a small gap near the root so you don’t create a crimped line at the base.
- Moving too fast. A quick glide doesn’t give the wave pattern time to set.
- Skipping the cool-down. Touching or brushing curls while they’re still warm loosens the wave almost immediately.
Flat Iron vs. Curling Iron: Which Should You Use?
Both tools can create beach waves, and the “better” one really comes down to preference and what you already own. A curling iron gives more consistent, predictable curls with less technique to learn, which makes it a safer bet for a total beginner. A flat iron takes more practice with the twist-and-glide motion, but it produces a softer, more textured wave and saves you from owning two separate hot tools if you’re trying to keep your routine simple.
Troubleshooting Common Problems
My hair just comes out straight. You’re gliding without twisting, or the twist isn’t tight enough. Exaggerate the rotation more than feels natural at first — it should be closer to a full quarter-to-half turn, not a slight tilt.
There’s a visible crease or kink where I clamped. This usually happens with sharp-edged plates, or from clamping too hard at the start of the section. Ease the pressure slightly and make sure your iron has rounded edges.
The wave looks great at the top but falls out by the ends. Ends are more porous and drier, which means they hold heat styling less well. Make sure heat protectant and a moisture product are reaching all the way to the tips, not just the mid-lengths.
My curls look great immediately but drop within an hour. Check your cool-down step first — pinning curls while they cool is what locks in the shape. If that’s not the issue, a stronger-hold hairspray applied while curls are still warm (but not hot) can help extend wear.
Pro Tips
- Use a smaller section size on shorter layers so they curl as well as the rest of your hair.
- A rounded-edge flat iron is much easier to twist smoothly than one with sharp, flat corners.
- Moisture-rich products on the ends help prevent the drier, more porous ends of your hair from looking frizzy after styling.
- Practice on one section before committing to your whole head — the twist motion takes a few tries to feel natural.
Frequently Asked Questions
Can any flat iron curl hair, or do I need a special one? Most flat irons with rounded edges can create waves with the twist-and-glide technique. Flat, sharp-edged plates make the motion harder and can create visible crease lines.
Will curling with a flat iron damage my hair more than a curling iron? Not inherently — heat damage comes down to temperature and how much heat protectant you use, not which tool you choose. Keep the temperature as low as your hair type allows for the style you want.
How do I keep the wave from looking too “crimped” instead of soft? A crimped look usually means the twist is too tight or the section too thin. Loosen the rotation slightly and use slightly larger sections for a softer, more relaxed wave pattern.
Can I use this technique on hair with layers? Yes, and it actually works especially well on layered hair, since shorter face-framing layers pick up the wave quickly. Just adjust your section size down for shorter layers so they curl in sync with the rest of your hair.
Conclusion
A flat iron can absolutely replace a curling iron for soft beach waves once you’ve got the twist-and-glide motion down — it just takes a little more practice up front. Watch the full tutorial above to see the exact hand motion in action, and don’t be discouraged if your first few sections don’t look perfect. This is a technique that clicks with repetition, and once it does, it becomes second nature. ✨
Related Posts
How to Get Heat-Free Waves: Bouncy Soft Curls With No Heat Damage
A step-by-step guide to genuinely heat-free curls — soft, bouncy waves using rollers and technique alone, no curling iron required.
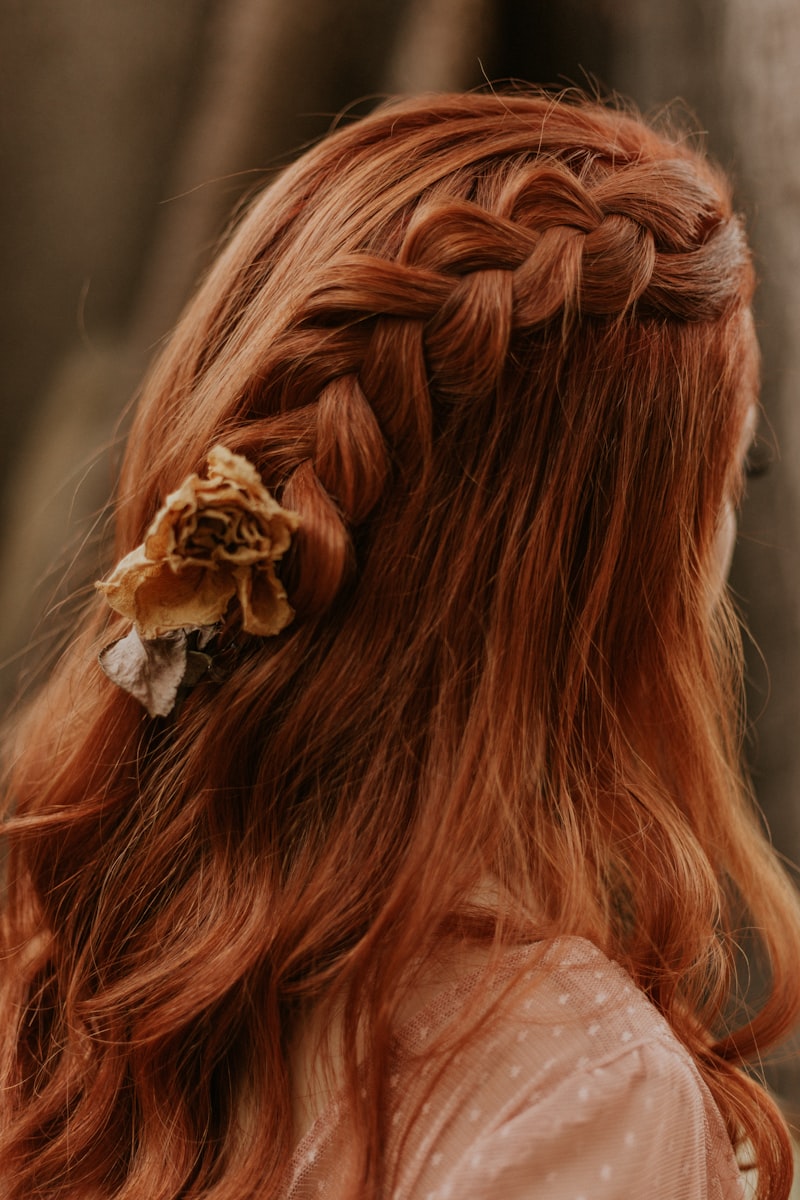
Half-Up Waterfall Ponytail Hairstyle That Actually Works
A step-by-step tutorial for a half-up waterfall ponytail — no extensions needed, just the technique that makes it look effortlessly full.
How to Use a One-Step Hair Dryer Brush for a Salon Blowout at Home
A step-by-step guide to using a one-step hot air brush for a smooth, voluminous salon-style blowout at home, plus how to choose the right one.
Curly Hair Tutorial: How to Get Beautiful, Defined Curls
A step-by-step natural curly hair routine for defined, frizz-free curls without heat damage — a complete wash day guide for curly hair beginners.